
Sign manufacturing, step by step: from artwork to factory floor
Follow one sign from the production file to the wall: print, cut, fabricate, check, pack, fit. Most of what goes wrong with signage goes wrong here.
Manufacturing is where a wayfinding drawing becomes an object. The approved artwork is rebuilt as a production file, printed, cut, fabricated into a panel or a letter, measured against the specification, packed in installation order and sent to site. Five or six sets of hands, on one room sign. Any one of them can undo the design without meaning to.
Specifiers rarely see this part of the job, and it's where most signage packages are won or lost. A scheme will survive a mediocre drawing. What it rarely survives is a good drawing made badly: contrast that drifts a few LRV points on the wrong substrate, braille set from an unchecked translation, forty door plates in which no two logos sit at the same height.
So take one sign. Call it 4.12 on the schedule: an internal room-identification panel, bilingual, tactile, braille, fixed to a painted plasterboard wall beside a door. Nothing exotic about it. Seven stages, about a week.
Stage one: the artwork is an instruction, not a picture
The client approves a visual, and a workshop can't make a visual. Between the two sits the production file, which is a different document altogether: a set of instructions for what a machine and a fabricator have to do. By this point the destination schedule has settled what the sign says. The production file settles everything else, and it is the least-read document in the whole package.
- Cutter paths and bleed: the outline the router or blade will actually follow, offset for the kerf it removes.
- Substrate, thickness and finish, named by product and not by adjective. "Matt white" is not a specification; a named board in a named finish is.
- Colour references tied to a physical standard, meaning a RAL or Pantone reference plus, where accessibility is in play, the measured Light Reflectance Value of both the text and the panel.
- The tactile and braille layer as separate geometry, with the braille translated and checked as text, never traced from an image.
- Fixing method, drill centres and mounting height, so the sign is made for the wall it's actually going on.
This is also the last cheap moment in the project. A change here costs an email; the same change after fabrication costs a panel, and after installation it costs a tower and an apology. Which is why approvals are worth accelerating. Our own software turns them round in days rather than the months emailed PDFs can take, mostly because nobody is guessing which version is current.
You can't fabricate from a picture. Everything the workshop needs has to be written into the production file.
Stage two: print, where colour stops being an opinion
Graphics are printed either straight onto the board on a flatbed press, or onto film that is then applied to it. Either way the discipline is the same. Colour is matched to a physical reference under known light, never to whatever a screen is doing that morning. A brand red that looks correct on a monitor can land two shades warm on a matt polymer and three shades cool on an anodised face. Same ink, same file, different surface.
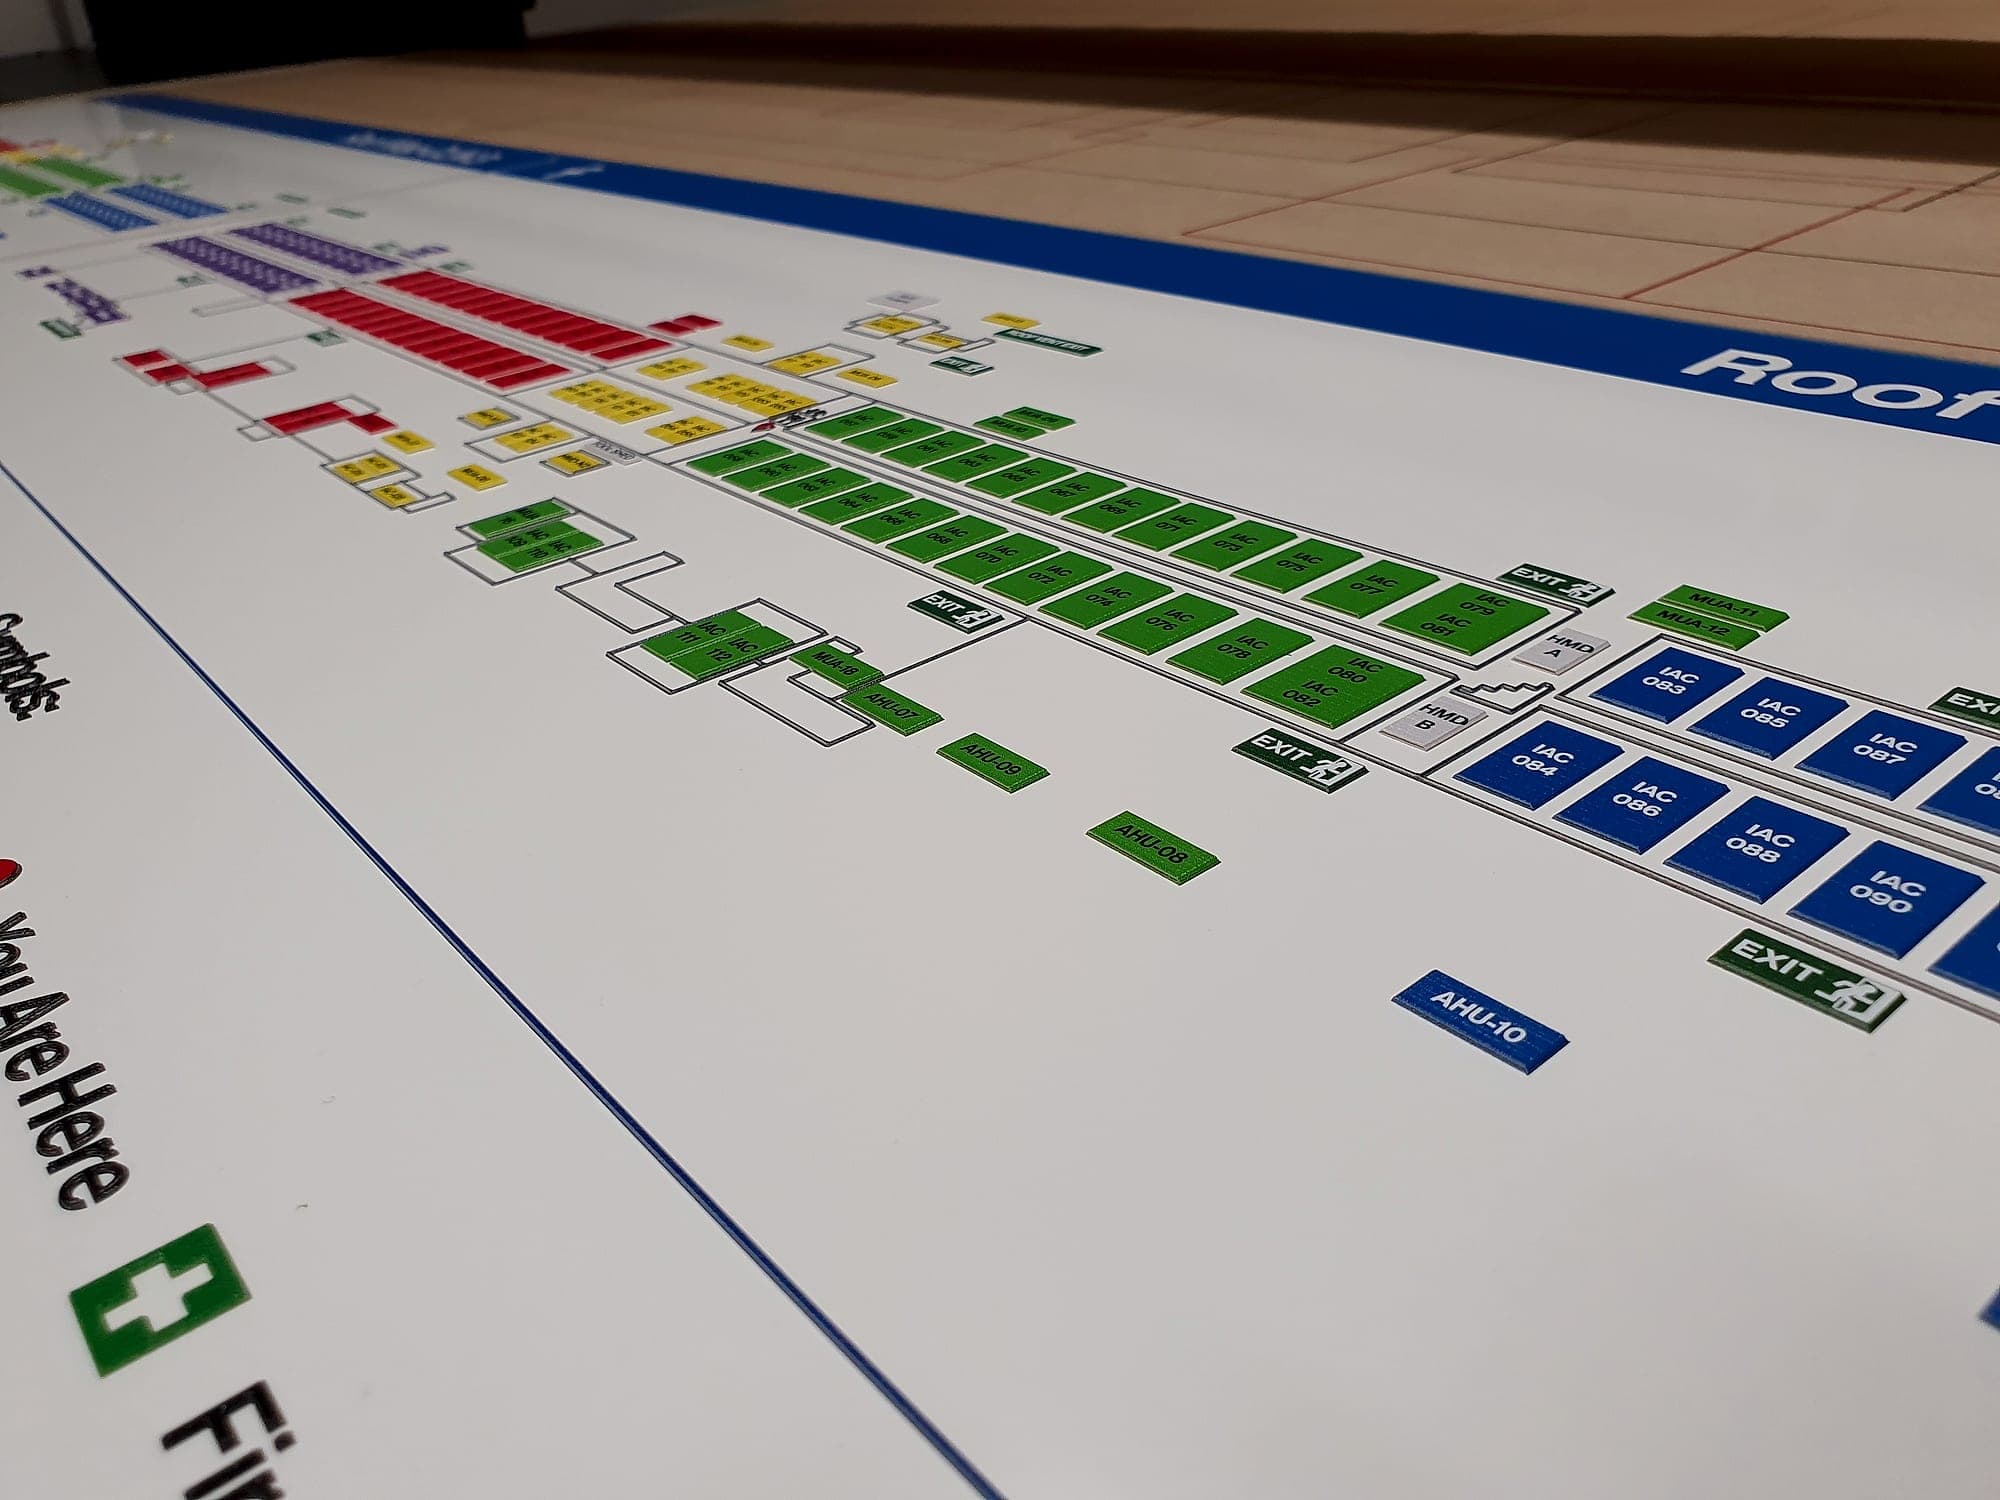
Large-format work has nowhere to hide. An orientation plan or a fire-evacuation drawing carries hundreds of small elements, every one of them needing to stay legible at reading distance and distinct from its neighbours. So it is printed flat, checked flat, and only then trimmed.
Stage three: cut, form, fabricate
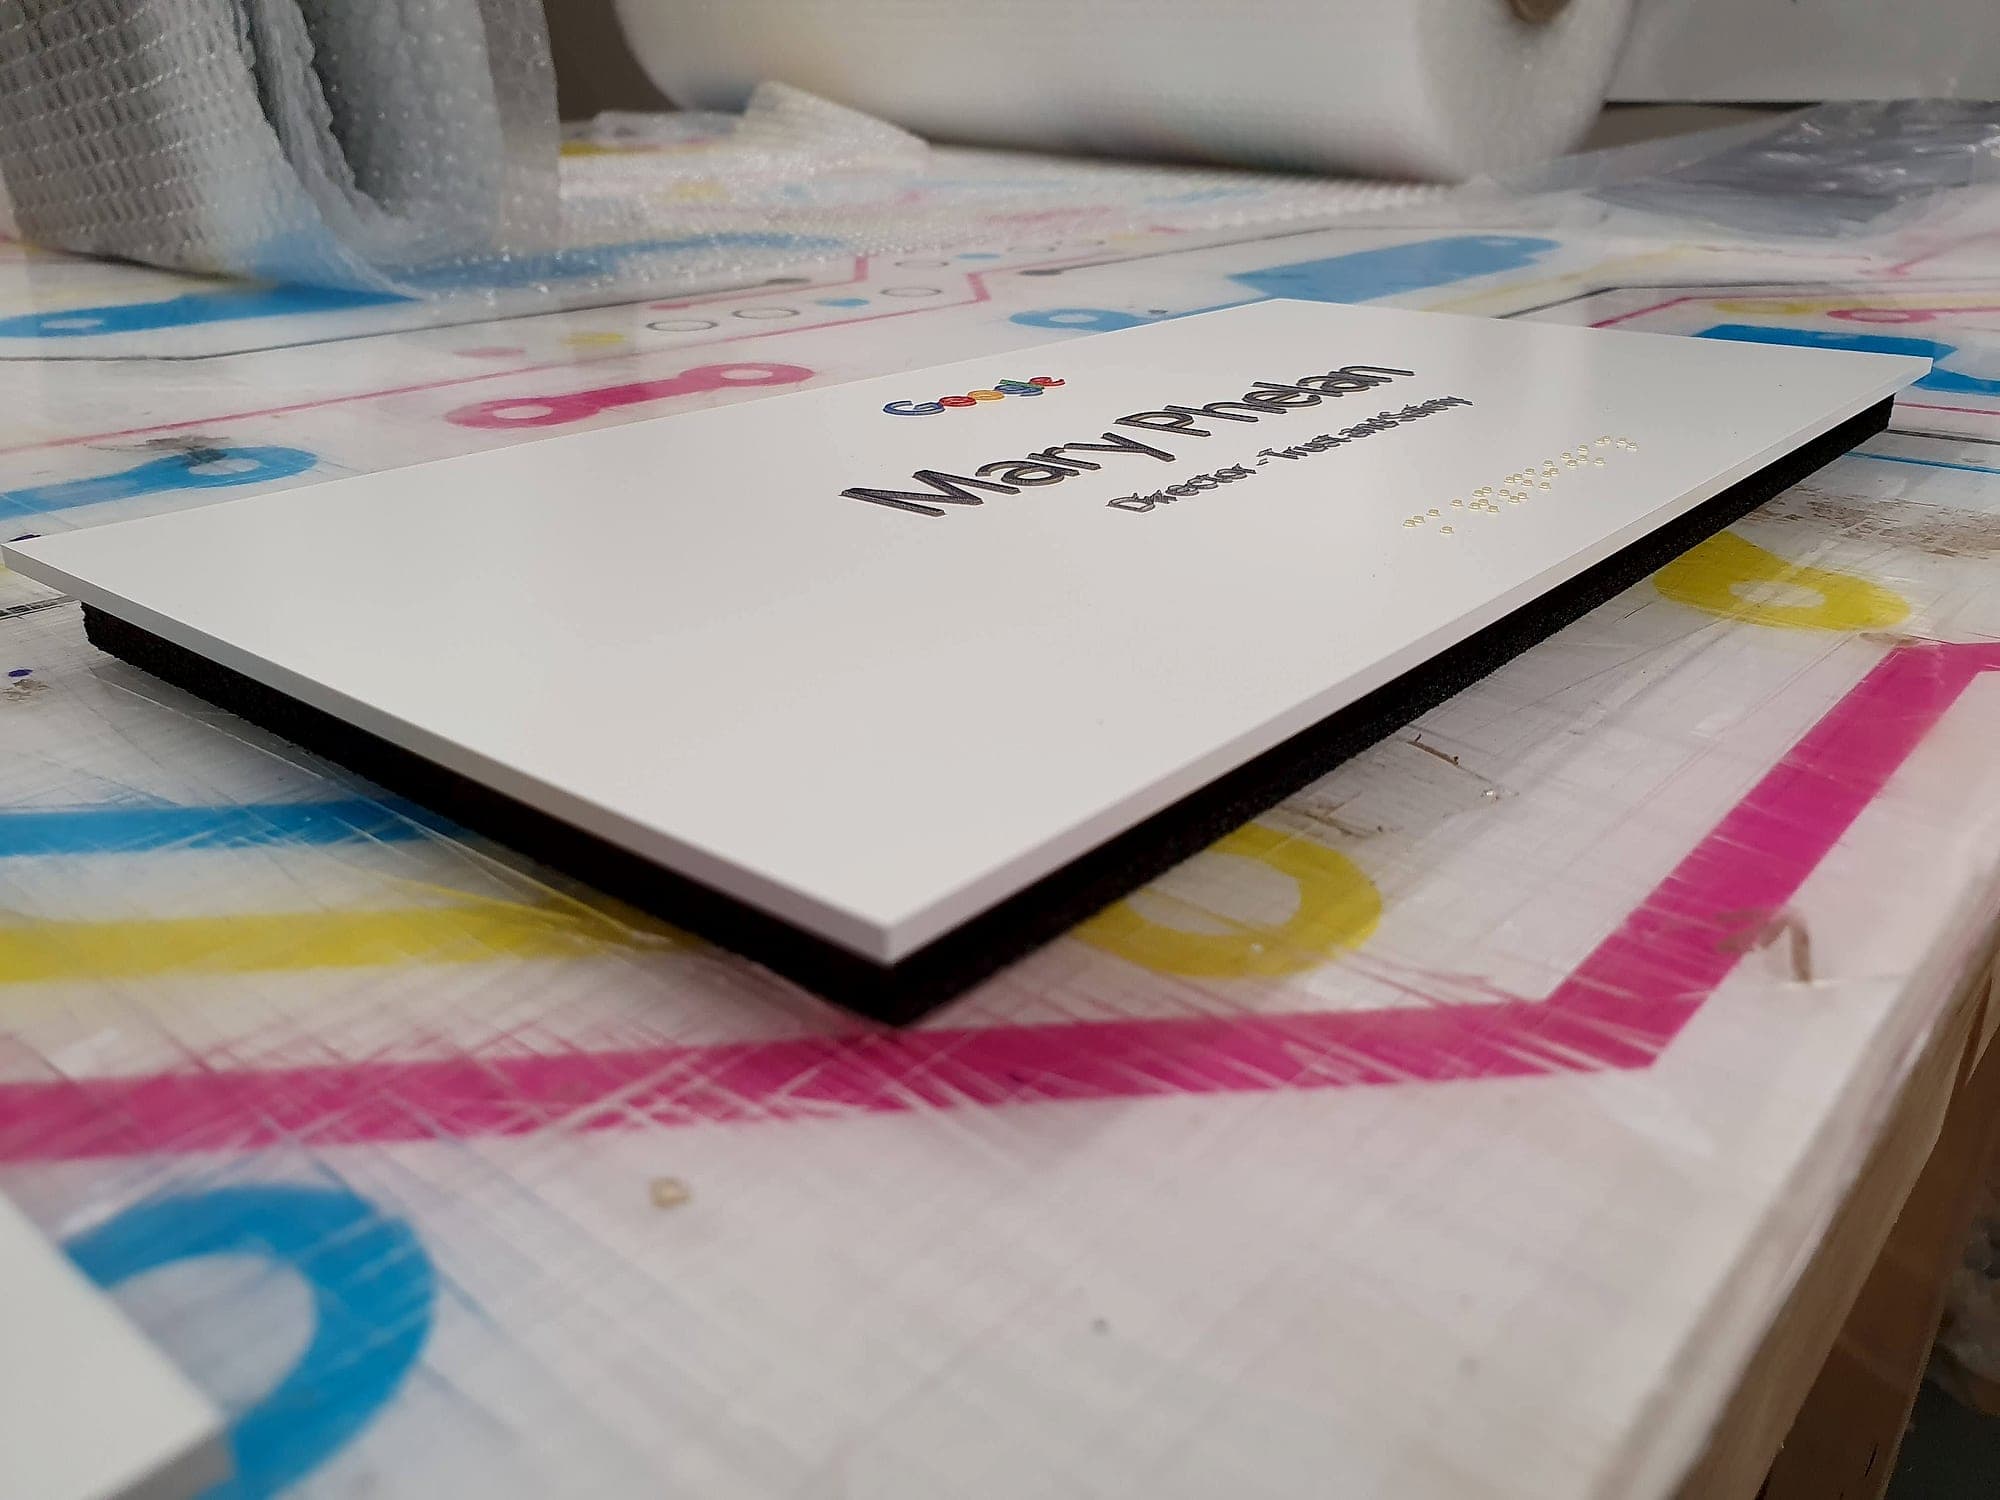
Cutting decides the sign's edges, and edges are the first thing anyone touches. Panels are routed or guillotined to size; letters are cut from solid material and finished on their returns; apertures for changeable inserts are machined to size. Then the layers go on: face, tactile characters, braille beads, laminations, standoffs, each one bonded and left to cure before the next.
The material chosen back in stage one asserts itself here. Cut cleanly, a composite panel with a dark core reads as a crisp black line around a white face; cut badly, it reads as a grey smudge. People register that line even when they couldn't tell you why, which is one good reason to decide what signs are made of on purpose.
Stage four: then doing it four hundred times
One sign is a craft exercise. Four hundred is a process. Every panel in a run has to leave the workshop with its type on the same baseline, its pictogram at the same optical size and its colour from the same print session, because signage is judged comparatively. Nobody notices a logo sitting 3mm low until they've walked past six doors and the seventh is different.
So runs are batched by artwork. Printed together, cut together, then checked against each other, because a drawing will tell you a panel is correct and say nothing about whether it matches its neighbour. Consistency is unglamorous. It is also the thing that separates a package that looks designed from one that looks assembled, and it costs far less to manufacture it than to go back and correct it.
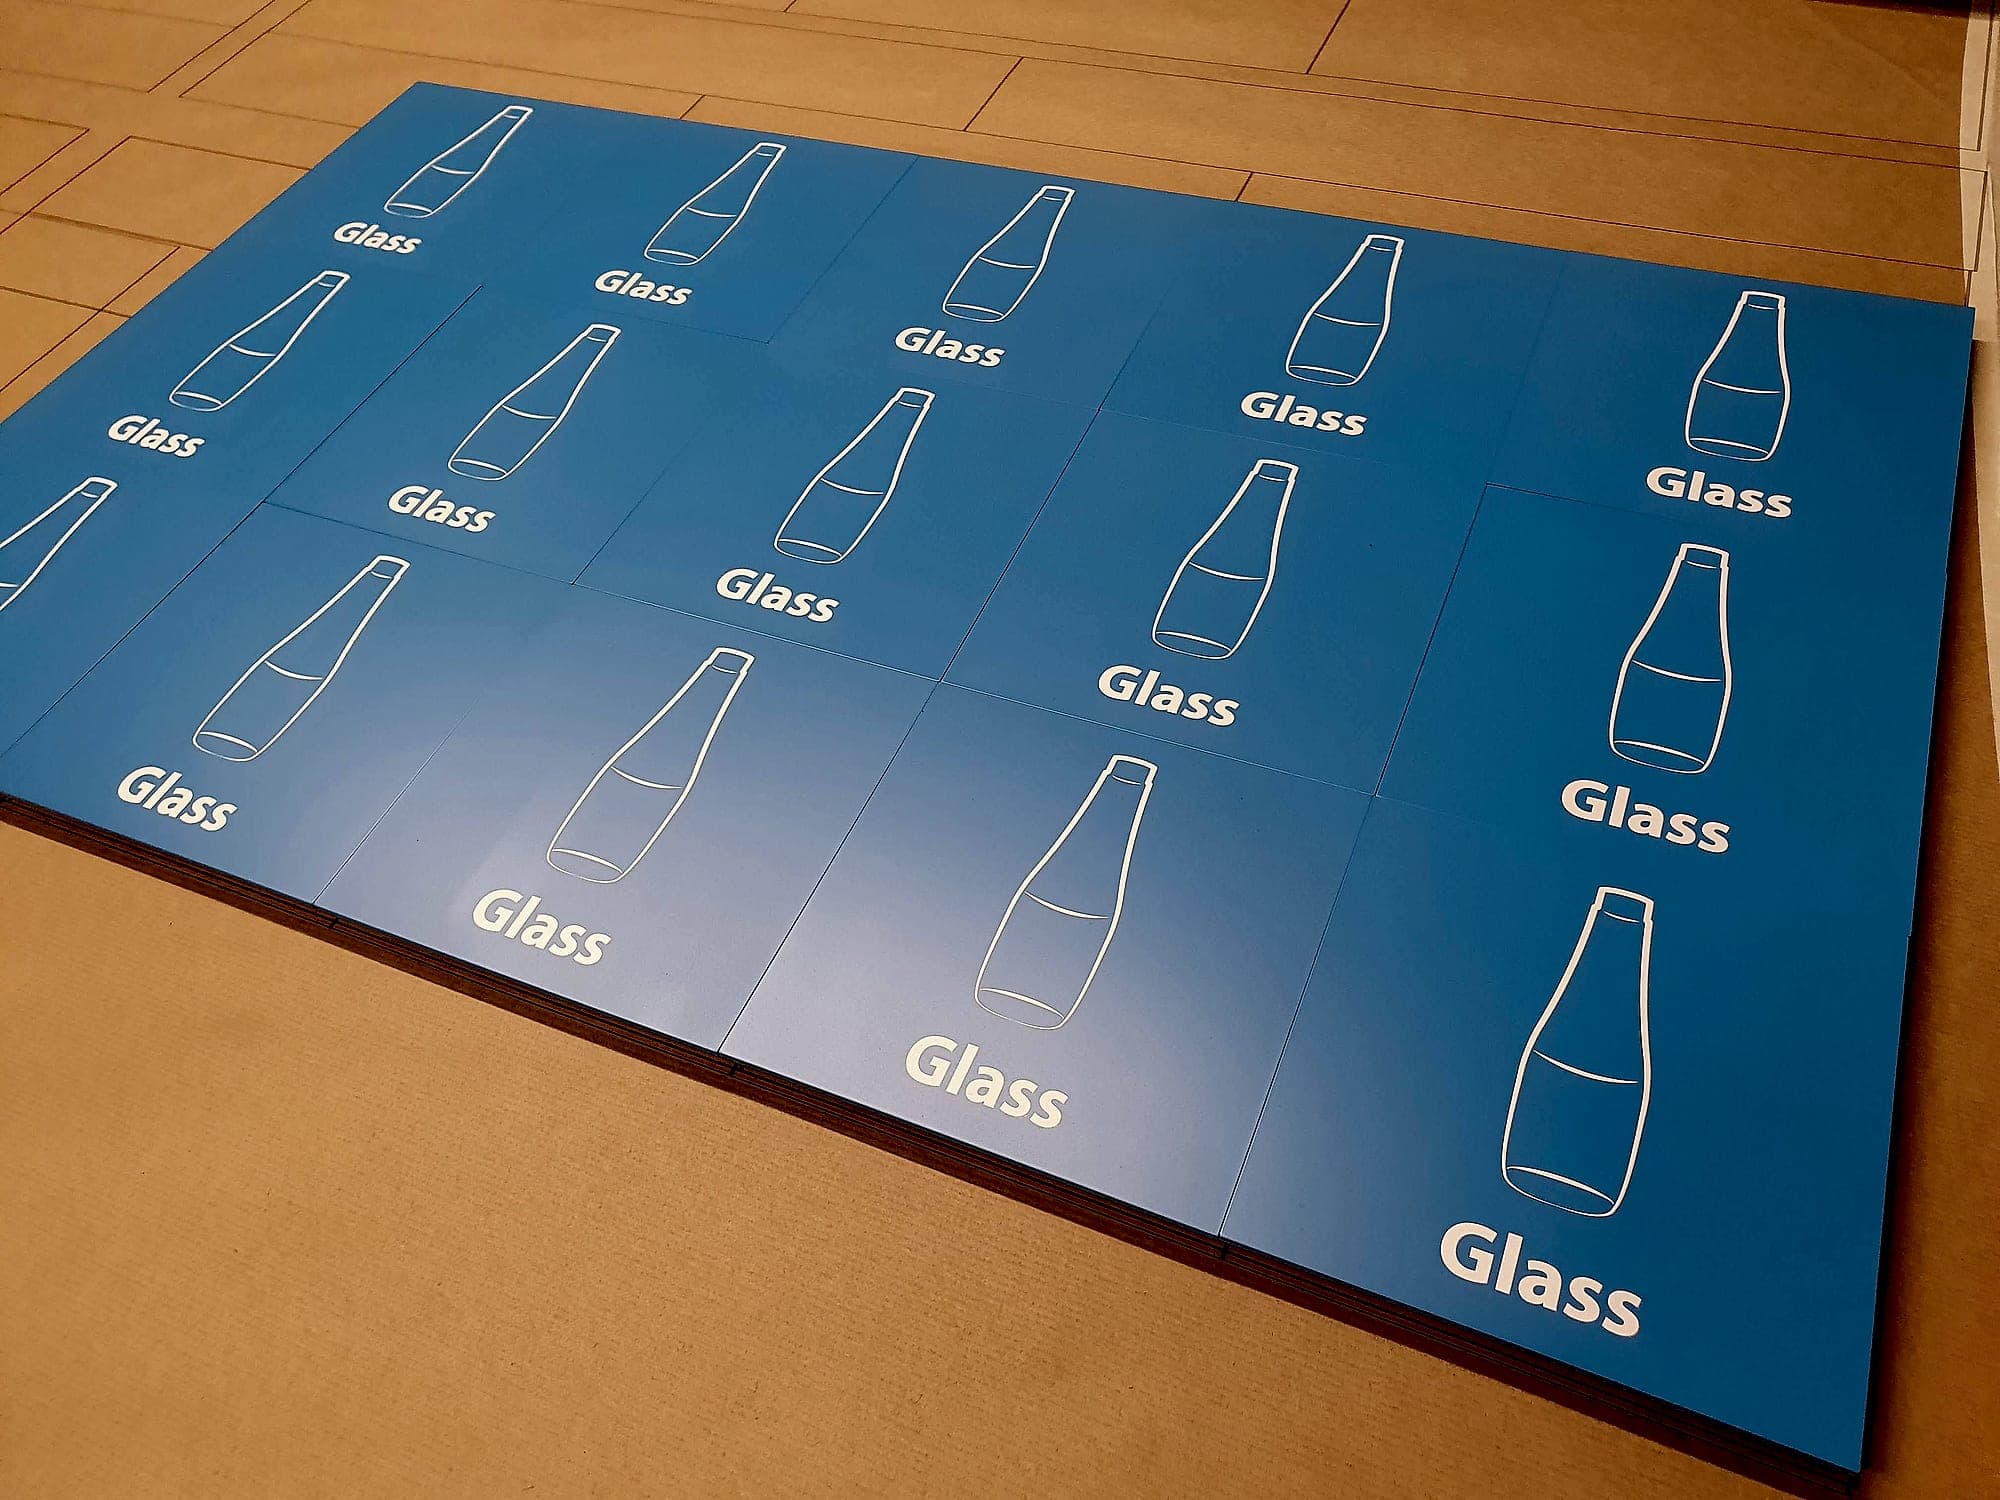
Making one good sign is straightforward. Making the four hundredth identical to the first is the whole job.
Stage five: the check that makes sign manufacturing certifiable
Before anything is wrapped, sign 4.12 goes back on the bench and gets measured. Accessibility requirements are numerical, so instruments can settle them. Which is also why they should never be signed off by eye.
- Visual contrast. BS 8300 guidance puts the difference between adjacent surfaces at 30 LRV points or more for signage; we verify the made panel, because print and substrate both move the number.
- Tactile and braille. Technical Guidance Document M asks that key location information also be given in tactile form where it can be reached and touched. We set uncontracted braille as standard practice, proofread as text, and check the raised characters by hand. A bead that hasn't fully cured is invisible to the eye and obvious to a fingertip.
- Case and legibility. Mixed-case lettering, not all capitals: words are recognised by their shape before they are read letter by letter.
- Safety symbols. The graphical forms in ISO 7010 are prescribed, not stylistic. A manufacturer reproduces them; it does not redraw them to suit a brand. Fire-safety signage sits under its own regime, Technical Guidance Document B and the standards it references, and is checked separately from wayfinding.
- Bilingual parity. Under the Official Languages Act, Irish and English carry equal prominence. On the bench that means the panel got taller during design; it never means one language got smaller during production.
Signage that has been measured can be certified, and signage that can be certified can be warranted. Ours carries a ten-year warranty for the straightforward reason that we know what went into it.
- 30
- LRV points of visual contrast: the BS 8300 signage baseline, verified on the made panel
- 10 yr
- warranty on the signage we supply
- ~20%
- saved end-to-end when one supplier carries the scheme from design to installation
Stage six: packed in installation order
Packing looks like a logistics decision and is really a wayfinding one. Every sign leaves labelled with its schedule reference and its destination (level, corridor, door), and the consignment is stacked in the sequence the installers will work. A fitter who unwraps eleven panels to get at panel twelve unwraps them on a finished floor.
Protection is specified as deliberately as the substrate: interleaving and bubble wrap for a soft cast finish, rigid corners for anything with a machined edge, film left on handled faces and taken off the moment they're up. Film that sits through a summer in a rooflit atrium never comes off cleanly.
Stage seven: the wall it was always for
Sign 4.12 arrives with its fixing method already chosen, because the wall was measured before the panel was made. That is the whole argument for the site survey: drawings lie about substrates. Blockwork turns out to be dry-lined. A bulkhead carries a service run (naturally) exactly where the top fixing goes. Neither is an installation problem if the workshop knew in advance, and both are if it didn't.
Fitted, the sign should look like nothing at all: level, plumb, at the specified height, close enough to the frame that a visitor reads sign and door as one thing. A week's work, taken in under a second. The last 5% of a signage project is the part everyone remembers.
Why it stays with one supplier
Signage is one of the last building components that still travels, inside a single week, from a design decision to a fabricated object to a fixed part of the architecture. You can split that week across a designer, a trade fabricator and a fitting contractor, and most packages are procured exactly that way. But every handover thins the information and blurs who is answerable. Keeping sign manufacturing inside the same contract as the drawing and the installation removes those handovers, which is where up to 20% of the end-to-end cost hides, and it means the person who specified 30 LRV points is the person who measures them. Split procurement isn't always the wrong call: a small package of one repeated sign type barely notices the seams.
Specifying a signage package, or working out where the last one went wrong on the bench? Talk to us while the production file is still an email.
Planning a wayfinding project? Talk early, while the big decisions are still cheap.